Forge welding in Japanese knives: how it works
What is forge welding, in plain terms?
Forge welding is one of the oldest ways of joining metals, used since ancient times. It’s a solid-state welding process: two pieces are brought up to high heat, then compressed so they bond without turning into molten metal like a puddle weld. In a knife shop, you feel it more than you explain it—steel goes from “two bars touching” to “one bar that moves as one,” with the weld interface disappearing when everything goes right.
The first welding process was forge welding, which started when humans learned to smelt iron from iron ore around 1800 BC. Archeologists have found wrought iron items showing evidence of forge welding from before 1000 BC. That survival isn’t nostalgia—it’s proof the method works: when the weld surfaces are clean and the welding temperature is right, the joint can be brutally dependable, not “good enough for decoration.”
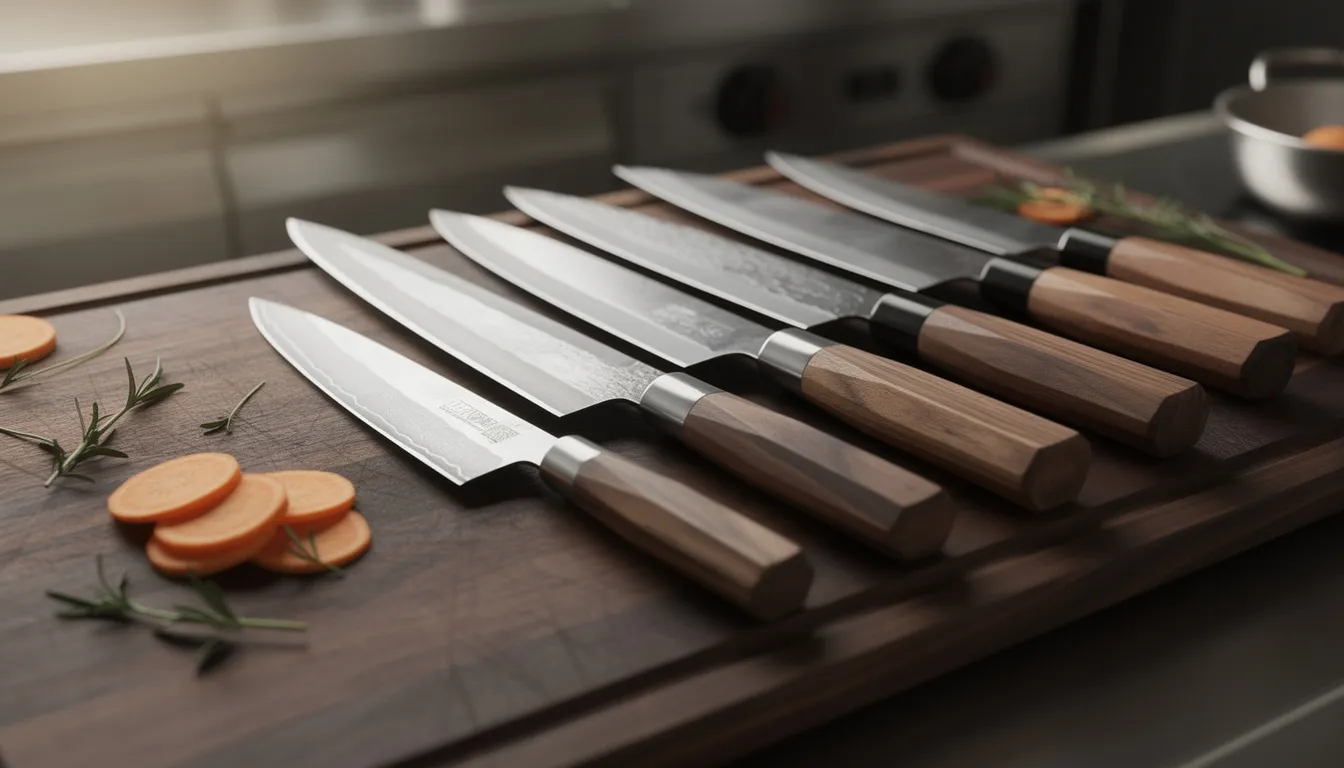
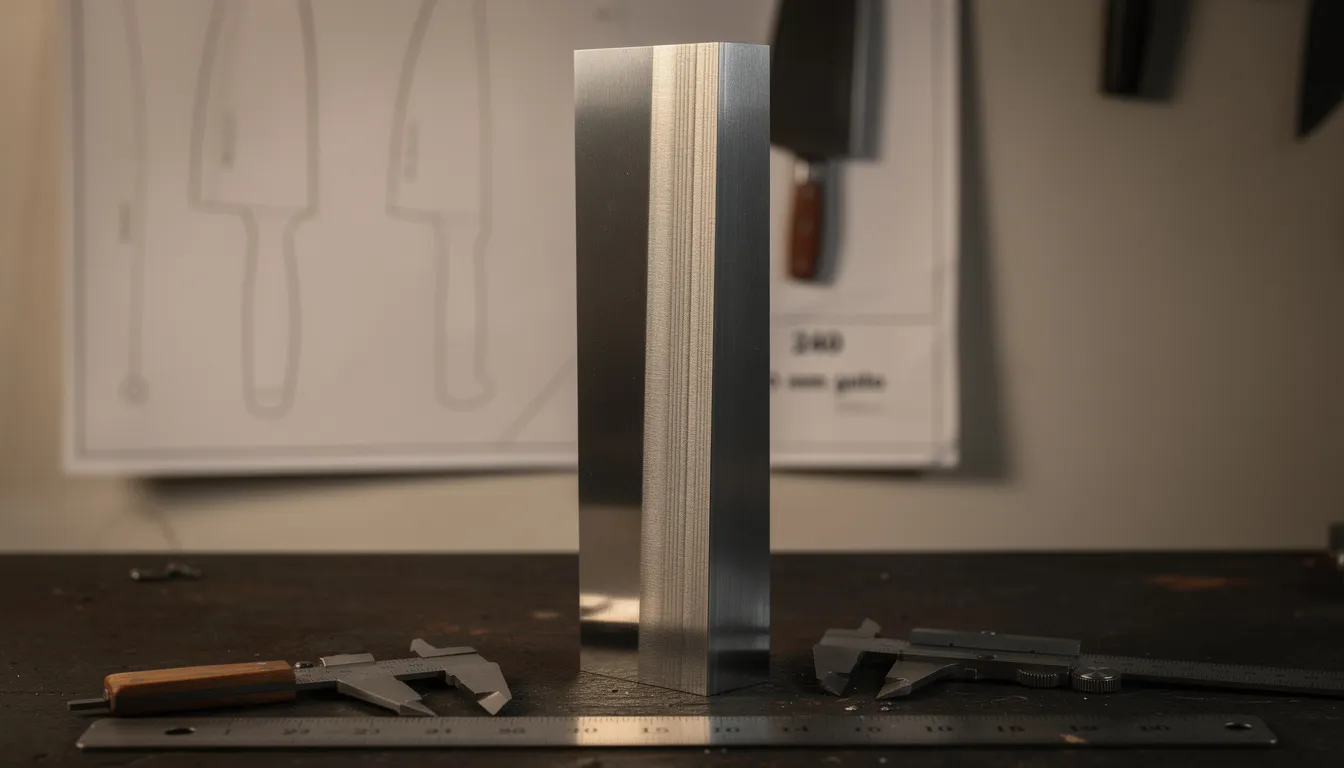
For kitchen knives, forge welding often shows up as pattern-welded damascus. Sometimes it’s also just the practical move—joining pieces of metal to make a billet longer or wider. A 210 mm gyuto needs length and consistency; forge welding can be the quiet, unglamorous step that makes that possible.
Why does forge welding matter for Japanese knives?
Japanese-style kitchen knives lean hard on balance: thin geometry for bite, but enough toughness to survive real prep. Forge welding lets different metals cooperate—hard cutting steel where it counts, tougher or more corrosion-resistant layers where it helps. That’s why classic constructions exist at all: it’s not just “cool layering,” it’s controlled joining metals with intent.
There’s also a feel component. A blade with a hard core and softer jacket can sharpen differently, and it can dampen brittle behavior at the edge when pushed thin. In practice, that might mean a 240 mm gyuto ground to a laser-like profile still has a little forgiveness at the shoulders—because the outer layers are doing some of the stress-handling work.
Forge welding has been used for centuries to create items ranging from armor and weapons to tools, farming implements, cookware, gates, and fences. By 2000 B.C., people were already forge welding cooking utensils, jewelry, and weapons, so it’s not a stretch that the same traditional method ended up supporting kitchen work. What changed in 2026 isn’t the concept—it’s buyer awareness of what the weld is doing beyond the looks.
What makes a weld actually grab?
For forge welding to work, the weld surfaces must be clean. Oxides form fast at welding heat, and that oxidation can leave a layer that blocks bonding and creates an imperfect weld. Mówiąc wprost: dirt, scale, and trapped oxides are the real enemies, not “not enough force.”
Flux helps by preventing the welding surfaces from oxidizing and creating a poor quality weld. It combines with oxides as they form, lowering their melting temperature and viscosity so they can squeeze out as the pieces of metal are pressed together. The unsexy truth: the weld is usually won or lost before the first hit lands.
Pliny the Elder provided the first written record of the forging process in 60 A.D. It’s a reminder that people noticed early how much depends on preparation and timing. In a bladesmith’s shop, clean faces, tight fit-up, and correct heat still beat “more hammer” every time—whether you’re joining two pieces of metal or stacking a full billet.
What is “welding heat” and why is it tricky?
Welding heat is the window where steel is hot enough to bond under pressure, but not so hot it burns. Temperatures used in forge welding typically range from about 50–90% of the metal’s melting temperature. That range is broad because alloys vary, and the atmosphere (oxidizing vs reducing) changes what “safe” looks like—especially in an oxygen reactive environment where scale is eager to show up uninvited.
Both welding surfaces need to be heated to the same temperature and welded before cooling down. If one side lags, the joint can stick in patches, then tear under the next blow. Care matters here: overheat and you can see sparks from rapid oxidation as carbon begins to disappear from the surface, pushing you toward a brittle, compromised seam instead of a strong weld.
A practical anchor point: the billet should feel uniformly “alive” under the hammer, not crusty or dead. A good welding temp supports the next step—drawing out—without the seam opening at the edges. A bad one can look fine until grinding reveals thin weld lines that refuse to go away.

What does the forge welding process look like in a shop?
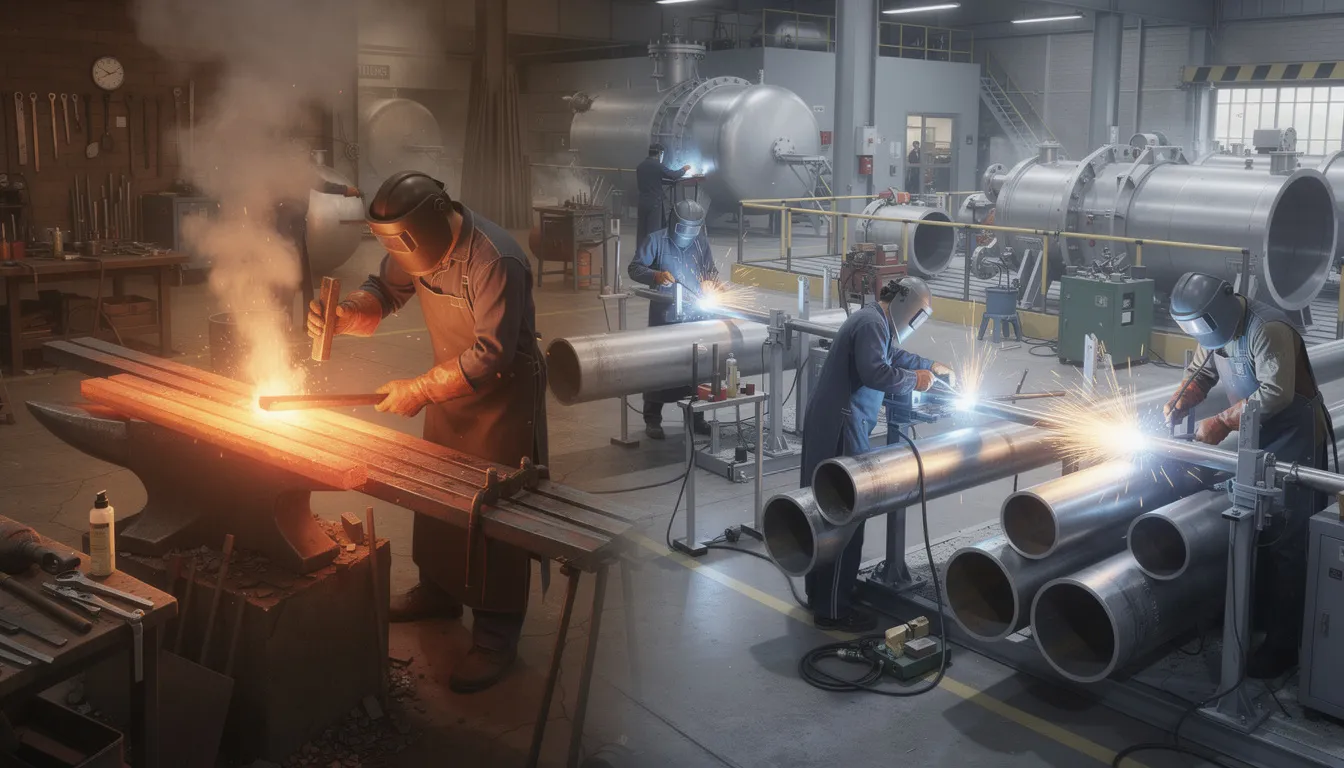
The forge welding process is a loop: prep, heat, set the weld, consolidate, repeat. Forge welding involves heating pieces of metal high and compressing them so the surfaces bond—no filler metal bead, no “glue,” just pressure plus time at temperature. The first hits aren’t dramatic; they’re controlled, because the goal is to seat contact, not splash flux across the shop.
Hammer blows during forge welding should be moderate to avoid blasting flux out of the joint. Too soft and nothing seats; too hard and the stack can skate on flux and scale instead of welding. The pressure needed depends on heating temperature, hardness, and the strength of the materials, so the same swing won’t work on every stack—especially when you’re mixing similar and dissimilar metals.
A simple checklist stays boring because it works: make faces bright, keep them clean, heat evenly to true welding heat (not “almost there”), set the weld, then reheat and draw. Re-flux and reheat as needed, especially on bigger metal pieces where heat distribution becomes the whole game. Forge welding doesn’t require extra consumables like filler rods or shielding gases, which keeps the welding process simple—when your prep is honest.
Where do power hammer and presses fit in?
Forge welding can be done with manual hammering or with mechanical hammers and presses. A power hammer is basically repeatable force and speed: it helps set and consolidate welds, then draw out longer billets before the corners cool. It also changes the craft—less “gym day,” more timing, heat management, and keeping the billet straight.
Maintaining consistent heat during forge welding is tougher on large pieces of metal, and that’s where distortion sneaks in. A power hammer shortens the time between forge and anvil, which matters because big stacks cool fast at the corners. Historically, manual welding of large items was difficult for exactly that reason—parts cool before the welding process is completed.
In knife terms, “large” can be as simple as a tall san-mai billet meant for a 240 mm gyuto plus extra for losses. A hydraulic press can help with more even heat distribution across the weld because you can move decisively without racing the clock, and it’s kinder to some stacks than aggressive hammering. But whether it’s a press or a power hammer, the goal stays the same: clean set, controlled consolidation, minimal distortion.
How do materials change the weld behavior?
Forge welding works across a range of metals: high and low-carbon steels, wrought iron, and some cast irons. In kitchen knives, the common pairing is a hard core (often high carbon steels) with tougher outer layers. Wrought iron’s fibrous character moves differently under the hammer and can telegraph texture through the finish—beautiful when intentional, annoying when accidental.
Mild steel often shows up in practice billets, fixtures, and sacrificial parts of a stack. It’s forgiving at high heat and makes timing easier to learn, but it isn’t a cutting edge steel. In laminated blades, softer outer layers can protect a hard core from shock, but they don’t replace heat treatment or rescue sloppy welding temperature control.
Tamahagane brings its own constraints: variability, carbon gradients, and more sensitivity to decarb at the skin. Decarburisation can be mitigated by starting with higher carbon content than required, but that’s a tool—not a magic spell. Overdo exposure at bright yellow heat and you’ll grind away your margin, then wonder why the edge won’t harden the way it “should.”
What about damascus—stacked, twisted, and “folded”?
Pattern-welded damascus is often a forge welding story more than a steel story. The look comes from repeated welding, drawing, cutting, and re-stacking, so small mistakes multiply fast. It’s basically a welding process where you’re signing your name in layers—except the signature can include hidden flaws if your weld surfaces weren’t truly clean.
There’s also “damascus” as a marketing label, which can mean anything from thoughtful lamination to pure cosmetics. In a shop context, it helps to separate two ideas: damascus as construction (toughness, support for thin grinds) versus damascus as pattern (contrast for aesthetics, sometimes without functional change). The steel can be excellent either way—if the weld is real.
Forge welding can produce a strong weld quickly without filler materials when everything is controlled. But it’s not automatic: contamination, poor fit-up, or a rushed welding heat can leave micro-delaminations that only show up later on stones or at the board. A blade can be gorgeous and still punish you for one bad decision three heats ago.
Where do “filler metal” and modern welding fit?
People coming from fabrication often ask about filler metal, tack weld habits, and beads. Traditional forge welding generally doesn’t use filler; the parent metals bond through a diffusion bond under pressure at high temperature. That matters because it avoids the bead-and-HAZ geometry you see in fusion welding, where molten metal solidifies across a seam and leaves its own stress story behind.
After the Industrial Revolution, electrical and gas welding replaced manual forge welding in most industry, especially for things like steel pipe, pressure vessels, and production work where repeatability matters. Knife work kept forge welding because it can laminate broad faces—core and jacket—rather than just stitching edges. Modern forge welding also includes automated forge welding in industry and processes like roll welding, plus relatives like friction welding and diffusion bonding that use machines to push the same solid-state idea harder and more consistently.
A filler metal approach still shows up around bladesmithing—for fixtures, tang extensions, or shop tooling—but it’s a different workflow than welding a billet. If your billet “needs filler to fill gaps,” that’s usually a fit-up problem, not a technique choice. In forge welding, tight contact is part of the recipe, not an optional upgrade.
How does forge welding affect blade geometry and cutting feel?
A welded billet is only the start; geometry decides whether the knife cooks well. Thin behind the edge matters more than most people expect: a bunka at 165–180 mm can feel fast if it’s thin and properly convexed, while a thick one wedges even if the steel is fancy. Lamination can support thinner grinds by pairing a hard core with a tougher jacket, but it can’t rescue bad geometry—no weld is strong enough to fix a clumsy grind.
Single bevel knives—yanagiba, deba, sakimaru—put even more pressure on construction quality. A yanagiba in the 270–330 mm range relies on stable steel and a predictable ura; any weld quirks can complicate polishing and edge stability. Double bevel knives—gyuto, kiritsuke, petty—are generally more forgiving, but they still reveal problems when sharpened down over years.
A small workshop scenario comes up a lot: someone wants a “do-it-all” 210 mm gyuto, but mostly chops hard veg and sometimes rocks herbs. A slightly tougher, not-too-thin mid-geometry often wins over a pure laser, even if lasers are exciting on paper. The welding matters, sure, but the grind line and thickness choices decide whether the knife feels calm or nervous on the board.
What are the most common forge-weld failures?
The most common failure is inclusion: trapped oxide, dirt, or scale that blocks the bond. The welding process demands extremely clean weld surfaces to ensure a proper join, and an iron oxide layer is basically a built-in separator if you let it live between layers. If oxidation gets trapped, it can leave a seam that opens during grinding, etching, or later use.
Next is heat mismatch: both pieces must reach the same temperature before joining, or you get a poor weld that looks “set” but isn’t consolidated through the full thickness. The third is force at the wrong time—early hammering that’s too aggressive can blow flux out, leaving scale behind and creating weak spots right where you wanted a finished weld to be boring and permanent.
In the kitchen, weld issues typically show up as a hairline seam that darkens after patina forms, a “tick” on stones where layers catch unevenly, or tiny chips/cracks that start exactly at a boundary line. Forge welding is ideal for art or repairs but can be time-consuming and challenging for large-scale work, and time pressure is where shortcuts happen. Good shops pace around heat control, not adrenaline.
What safety and shop discipline actually matter?
Forge welding throws flux, scale, and sparks, so safety glasses matter—your eyes don’t get a second set. Gloves help near hot metal, but they still need to allow grip and control. Thick 100% natural materials like cotton, wool, or leather reduce burn risk, and a leather apron is a plain, practical shield, not cosplay.
Hearing protection—earplugs or muffs—is still worth it, even if loud tools aren’t used all day. Shops change: one day it’s quiet hand work, next day it’s a louder session under a power hammer or other mechanical hammers. A small routine—check tongs, check footing, clear scale—does more for safety than any heroic “I’m fine” mindset.
At MG Forge, the discipline is consistent whether the billet is simple san-mai or a complex pattern stack: clean prep, controlled high heat, no rushing the set. That’s what keeps the craft honest, even when the finished knife looks effortless and nobody sees the boring part that made it possible.
How should forge-welded knives be used and cared for in 2026?
A forge-welded knife isn’t automatically fragile, but it often invites thinner grinds and harder cores, so the rules stay grounded. Keep bones and frozen food for heavier tools like deba or a sturdy western style chef knife, not a thin gyuto. Use a wooden or soft plastic board, and avoid twisting cuts that pry at the edge—because even a forge welding strong joint doesn’t prevent edge damage from bad technique.
Patina is part of the story on many carbon builds. A stable patina can act like a soft barrier layer, but it’s not rust-proofing—water left at the heel or under acids still marks fast. After prep, rinse, wipe dry, and store with airflow; edge guards are fine, but don’t trap moisture against the steel in surrounding air that’s happy to help corrosion along.
Trends heading into 2026 push toward clearer material disclosure and better education around maintenance. People increasingly ask whether “damascus” is just visual or tied to real lamination, and that’s a healthy shift. A knife should be judged by how it sharpens, how it holds an edge for a normal week of prep, and how calmly it moves through onions, fish, and herbs—not only by the pattern or the hype.
For anyone stepping into a first serious Japanese knife, a practical set stays simple: 210 or 240 mm gyuto for most work, 120–150 mm petty for detail, and a dedicated yanagiba or sakimaru only if slicing fish is a real habit. The forge welding work—done clean, at proper temperature—supports those roles quietly in the background.
Is forge welding strong?
Yes—when done correctly, forge welding can be very strong because it creates a solid state diffusion bond instead of relying on molten metal to re-solidify. In many cases the joint can rival or even exceed fusion welding strength, because you avoid a bead-shaped weak zone and focus on intimate contact across the weld interface. Strength still depends on clean surfaces, correct welding heat, and solid consolidation under hammer or press.
What do you use for forge welding?
At minimum you need compatible metal pieces, a heat source (solid fuel or gas), and a way to apply pressure—manual hammering, a power hammer, or a press. Flux is commonly used to control oxidation and improve weld quality, plus prep tools to make weld surfaces bright. Some makers also use a tack weld to hold a stack together before heating, especially when handling multiple pieces of metal that want to shift.
Can you forge weld without flux?
Sometimes, but it’s situational and far less forgiving. Flux helps bind oxides and push them out of the joint by lowering their melting point, which is especially useful in open forges where rapid oxidation happens fast. Welding without flux usually requires a cleaner, more controlled atmosphere (often reducing, sometimes with carbon dioxide effects from the fire), tight fit-up, and fast timing so heated metals don’t absorb oxygen while you hesitate.
Is forge welding still used today?
Yes—especially in bladesmithing and specialty layered work like laminated steel and pattern-welded damascus. Industry mostly shifted to electrical welding after the Industrial Revolution, but forge welding remains an essential skill where solid-state joining and layered constructions matter. Modern relatives like friction welding, roll welding, and diffusion bonding keep the same core idea while using machines, compressed air systems, gas engines, and more controlled heat distribution to reduce guesswork—something shops like MG Forge still translate back into real knife performance.
How do atmosphere and stock preparation affect solid-state joining in forge welding?
Successful forge welding (sometimes called fire welding) depends on bringing clean, well-fitted flat stock to the right heat so a solid state bond forms under pressure rather than relying on molten metal, while controlling how quickly surfaces absorb oxygen in a reactive forge; flux helps, but timing and an atmosphere that limits oxidation still matter, and tools like presses or power hammers can improve consistency by applying force efficiently—often supported by shop equipment such as compressed air—so the weld sets and consolidates before cooling exposes weaknesses.